Monthly Archives: May 2010

pheigi’s ring (wax carving process)

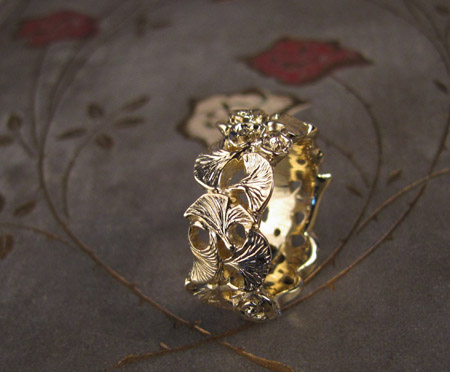
18K gold hand-carved rose and ginkgo leaf ring

18K gold custom rose and ginkgo ring. This is a recent custom order I finished for a woman in Japan.

First I sketched a potential design. Once this was okayed, I could start in with the wax carving.

To start with, I hacked off a slice of carving wax the width of the proposed ring. I bored out the inside to the proper ring size, filed the sides parallel, and filed down the top to an even thickness. This step used to take me a ridiculously long time but now I’m pretty good at it and can brute out a general ring shape in no time. I typically carve a thick ring; rings feel better to me when there is some substance to them. I start with 2.5mm thickness generally and whittle down from there. The final ring will usually be around 2.25 thickness.

I measured out my three rose groupings so they would be even and balanced. Then I started to sketch out my design by scratching it onto the wax with a dental tool. I often have to adjust my design once actually laid out onto the wax since it always fits differently than it does on a piece of notebook paper.

Here I’ve bored out the holes between the ginkgo leaves and cut away excess wax. I use a regular twist drill and exacto knife to do this.

Neatening the openwork and starting to shape a little. Once I get the shape right, I start carving contour with a dental tool. I have a number of dental tools but I really only use one, which I’m absurdly dependent upon. I got it from my dentist years ago and sharpened a new, pointier point onto it. I broke one end of it off a few years back and I’ll be severely irritated if I ever break off the remaining end, which has thee perfect angled tip and the perfect amount of springiness and flexibility.

Here I’ve roughed out the shape on the leaves and started to form the roses. I’m going for a lot of movement on this ring, high relief.

The wax carving is almost complete. I go over and over the piece to neaten up edges, clean up my scratch marks, and make sure the continuity is nice between the outside carving to the smooth inside edge of the band. I often use 1200-grit sandpaper in this step, which is pretty much crazy time, but I always thank myself later when I don’t have to sand irritating scratches out of metal.

Once I’m finished with the basic carving, I do the finishing texture and details. Here I’ve done a bit more work on the rose petals and added the ginkgo leaf texture. The wax model is complete.

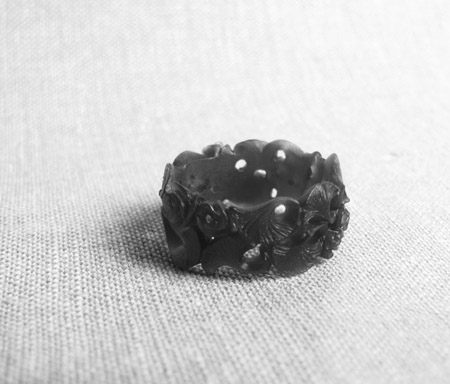
final wax for 18K ginkgo and rose ring

The glamour shots. Sometimes it’s hard to imagine the ring when it is purple wax… I’ve been experimenting with removing the color, etc. I can’t decide if it really helps though.

final wax for 18K ginkgo and rose ring

I’m still working on getting the lighting just right in the new studio. I took the finished gold photo before I got my diffuser working right. Unfortunately, it’s the only one that really worked and I didn’t get any others of different angles of the ring, showing more of the roses. Oh well.

18K gold hand-carved rose and ginkgo leaf ring

EDITED: You can see a photo spread of Pheigi & Kiichiro’s amazing Scottish/Japanese/Steampunk style wedding here.

art nouveau and mistletoe rings

It’s kind of ridiculous how long it took me to carve these rings.

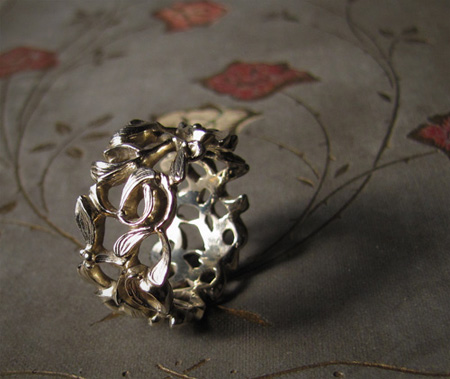
18K white gold handcarved mistletoe ring

[18K white gold mistletoe ring.]

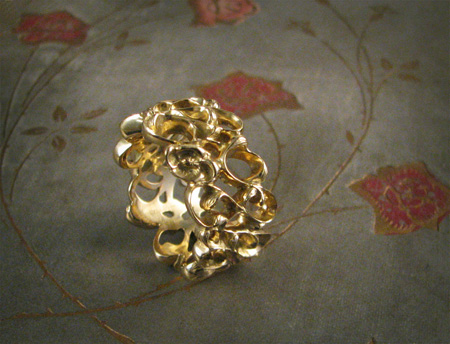
18K gold handcarved art nouveau ring

[18K gold art nouveau ring.]

I based the art nouveau ring design on a photograph of an embroidery by Swiss designer Hermann Obrist (1890s). The image was in an art nouveau book I saw once and I just fell in love with it.

[Hermann Obrist, “Whiplash” embroidery of cyclamen.]

I finally got molds made of these two rings. Even so, there is still a lot that needs to be done to prepare the waxes for casting (not even counting sizing…) in that they are just very complicated designs. Both are really awesome though; a couple of my favorites.

Both the Mistletoe ring and the Art Nouveau ring have been listed in my etsy shop.

alisha’s ring

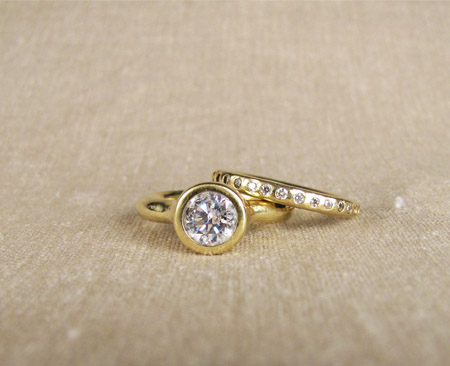
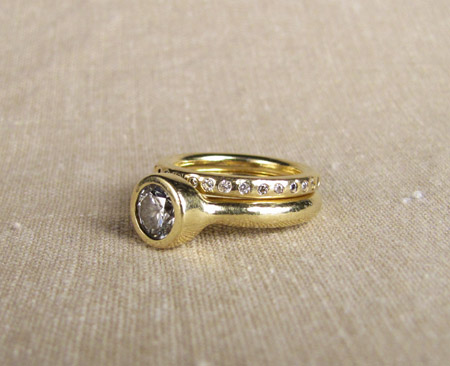
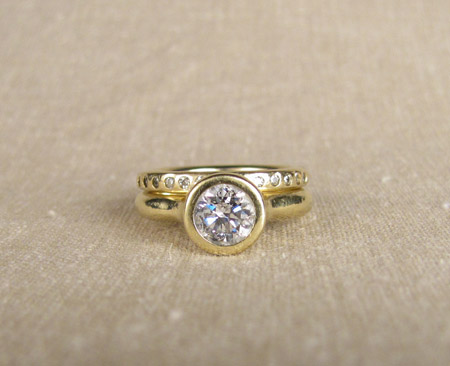
18K gold and diamond wedding set

This is the wedding set I carved for my (old—sniff!) studiomate Alisha. It’s the most low-key ring I think I’ve ever carved (fat diamond notwithstanding…). She had a very specific idea in mind and wanted it to be something that could definitely take a beating. In fact, by the time I got around to actually photographing the ring, she had been wearing it nonstop, the past weekend while demo-ing a pidgeon coop and garage interior at her new house. I think the dings and scratches rather become it really. I wasn’t comfortable setting diamonds yet when I made it and so she took it to a professional setter. It turned out pretty damned awesome!

18K gold and diamond wedding set

18K gold and diamond wedding set

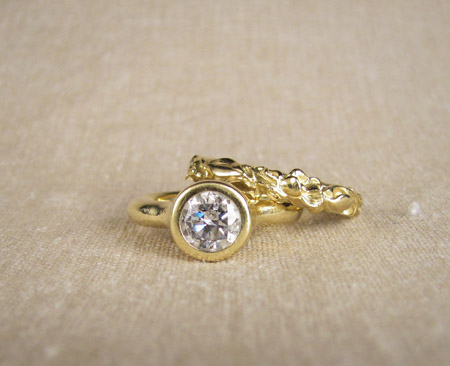
18K gold and diamond with carved rosebud band wedding set

Here I’ve paired her solitaire with one of my carved bands (the rosebud band). Sweetness!

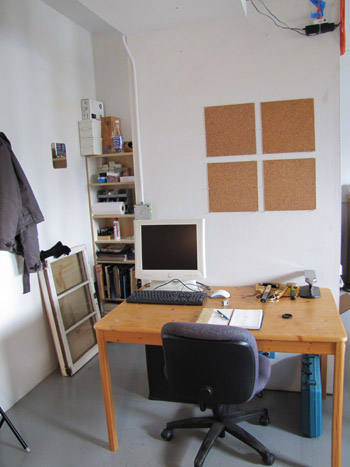
new studio!

From this:

jewelry studio mess

And this:

jewelry studio mess

To THIS!!

New jewelry studio

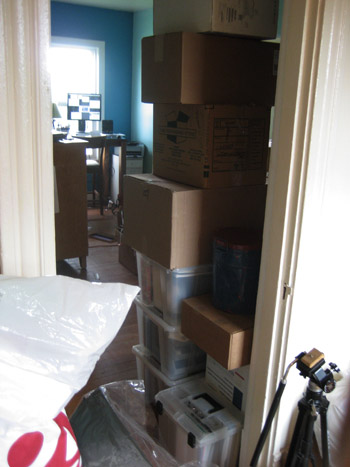
The first five boxes always get packed flush with essentials in no time. The following three boxes are somewhat less organized. Things get plucked from here and there and packed together out of convenience so that there aren’t any voids in the box. Then you survey the surroundings and there is still always like seven boxes’ worth of crap stacked all around and you don’t really need it but it’s still Useful Stuff and you can’t really just throw it out. I hate those last seven boxes.

The last time I had to pack up my studio, it was a bleeding nightmare. Not only did I have all seven boxes of utter crap I felt obligated to cart around to my Next Destination, it was all oblong, breakable, and awkward crap. I hate that awkward crap. Plus I had a humongous table (among other large items) to get rid of. Nobody was biting on Craigslist and in the end, I believe we cut it in quarters with a saws-all and balanced it precariously on top of the overloaded dumpster. Tragic really. When all was loaded and done, we came back to the house to discover that our car had been sideswiped (and totaled, it was later determined) by a drunk tow-truck driver (who later refused to ‘fess up). Although it was annoying, we weren’t really torn up over it. We were done with that car.

This time it went smoothly. I only had two boxes of crap and one I was able to pack back up again and hide away for the next move. If I’m lucky the closet fairies will steal it away and I won’t have to ever deal with it ever again.

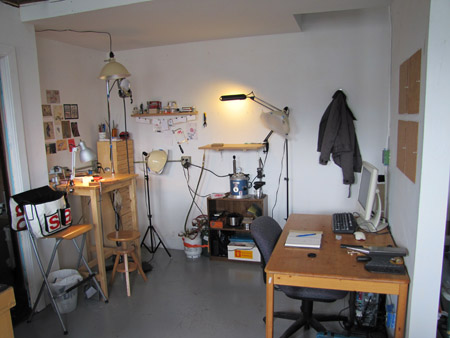
Behold! More gratuitous jewelry studio shots!

New jewelry studio

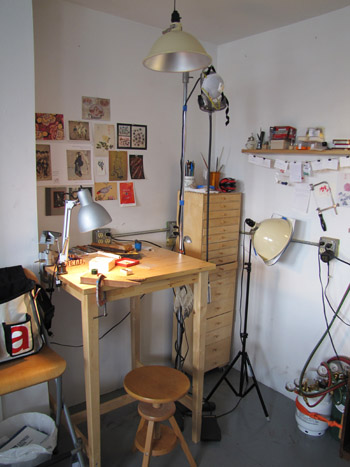
[Main work table, the “Tall Cosa” with tiny drawers of all my tools and bits..]

New jewelry studio

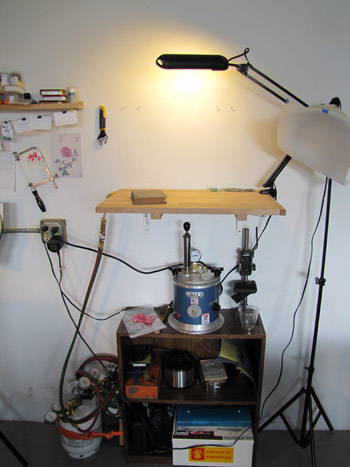
[The Soldering Shelf. This new space has about fifty berjillion outlets in it. Everywhere you turn. In fact none of my furniture fits against the walls because of all the outlets sticking out. I think I’ve done a fair job populating them with a wide variety of electrical devices. Before, I played musical chairs with the two outlets I had.]

New jewelry studio

[The computer desk and project table. It’s relatively neat and tidy now but in no time this will be taken over with all my miscellaneous bits and half-finished pieces.]

Anyway, I’m ready for action! I have a number of new pieces ready to post to the etsy shop. All very exciting!! (if, uh, you are into that sort of thing 🙂